ZERO!

I invented a new game for factoring quadratic trinomials over the summer break. After waiting to get to quadratics, I’m excited that this week I was finally able to play it with my Algebra 2 classes.

As I was planning, I was thinking about how to motivate teaching factoring. In particular, I was inspired by Dan Meyer’s thoughts, where he mentioned that locating zeroes is the key problem that factoring helps solve. I decided to find a way to make finding those zeroes the focus of how I introduced this topic.

This game, which I’m calling “ZERO!” is about evaluating expressions and finding zeroes. Students are in groups of four, and each group receives a set of 36 cards with a range of expressions on them. Most are quadratic trinomials, but there are some linear expressions, quadratic binomials and a handful of factored quadratics.

As a warm-up, I had students each choose a card, which I required to be a quadratic trinomial. I gave them a value for x, and they evaluated their expression with that value on dry erase boards. They then checked their answers with a calculator. My students are only just getting to grips with the TI-84, so I showed them how to store the value in x to evaluate the expression. Then I gave them a couple more values for x, which they also evaluated with the same card and checked with their calculator.

I asked if anyone got zero for any of the values of x, and a few students put their hands up. I revealed that this is the aim of the game – to get a card that evaluates to zero. The game works like this:

  1. Each group turns all of their cards face up so everyone can see all the expressions.
  2. Everyone chooses a card to place in front of themselves.
  3. The teacher chooses a number randomly between -5 and 6 (inclusive).
  4. Each student evaluates their expression with that number. I let them use their calculators so the game would go as quickly as possible, but I can see the benefits of having them do it by hand.
  5. If a student gets zero, they shout “ZERO!”* and turn their card face down, scoring one point in the process. If multiple students in a team get zero, they still only get one point.
  6. If a student scored, they replace their card for the next round. Other students can swap their card too, if they wish.
  7. Most points win. I went with first to ten points, before revising it to six, but a time limit isn’t a bad idea either.

As we worked through the game, I started prompting students with questions about which cards are the best ones to choose, and which cards are easiest to evaluate. I was also asking kids which numbers they needed to come up for them to get zero.

Students started realizing that the quadratics were better than linears, because they have two different zeroes – mostly. There are a few quadratic cards with only one zero. I decided against choosing any expressions that couldn’t be factored, because I didn’t want a student to be stuck with a card they couldn’t get zero from.

They also slowly realized that it was best to have different zeroes for their cards than the rest of their team (which is why I only allow one point per team each round). Four cards means eight possible zeroes, which is a better than even chance when there are twelve possible values for x. Of course, knowing what those zeroes are is easier said than done.

Well, until they know how to factor, that is. 😉

To play this game, you’ll need the following:

  • A set of cards for every four students. I printed each set on different colored paper so they wouldn’t get mixed up, and laminated them. I printed the word “ZERO!” on the back, but that’s not really necessary. Download here:

  • You’ll also need a way to choose the values of x. The easiest way would be to just own a 12 sided die numbered -5 to +6. Which I don’t. So instead, the next most sensible thing to do is write your own web app to generate the numbers. Wait, that’s not sensible at all. Oh, well. The good news, I already did that, so you can just use mine.

One bonus of having these cards is that I have practice questions ready to go. After going through factoring, I had students choose three cards each, which they factored and wrote as examples in their notebooks.

* I guess this part is optional.


Building Equations… Again

I’m teaching again! There’s so much that I can share about the start of my new job, but for now I just really want to blog about lesson ideas. So let’s do that.

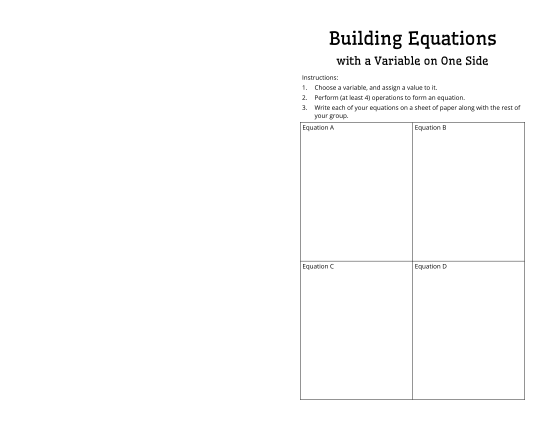
In Geometry we’re going through our introductory review unit. I wanted to see what my students’ algebraic skills are, especially with solving equations. I decided to expand on an idea I used last year.

The original idea was that students could get a better understanding of the way equations work by constructing equations themselves. If students are going to be expected to “backtrack”, it makes sense that they should see how the equations go forwards in the first place.

So students choose a value to assign to a variable, then perform operations on that variable and value, step by step. They then exchange equations with each other, which they solve by finding the steps that created the equation in the first place.

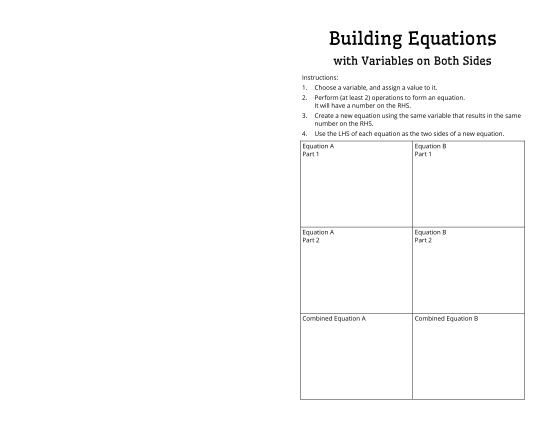
My latest version has two main aspects. Firstly, it’s now an INB foldable.

And secondly, there’s a second part for creating problems with variables on both sides of the equation. This is a little more involved. I had students create two equations, starting with the same value and ending at the same result on the right-hand side of the equation. Then, they equated the left-hand sides of the equations to create the complete equation.

A big difference with these equations, however, is that solving the equation doesn’t take the student through the same steps as the person who created it. But I think that’s a good thing, as it highlights that equations like these require a different approach to solve. I hoping my students will recognize that having variables on both sides means that just backtracking won’t get to the solution.

I realizing that one of my go-to ways to structure a lesson is having students construct their own problems for other students so solve. It really helps to “pull back the curtain” and show students what’s really going on with different problems. Math seems completely opaque to so many students, particularly when they’re only taught procedural methods. Instead, let’s work on making math transparent.

Downloads:


Order of Operations Posters

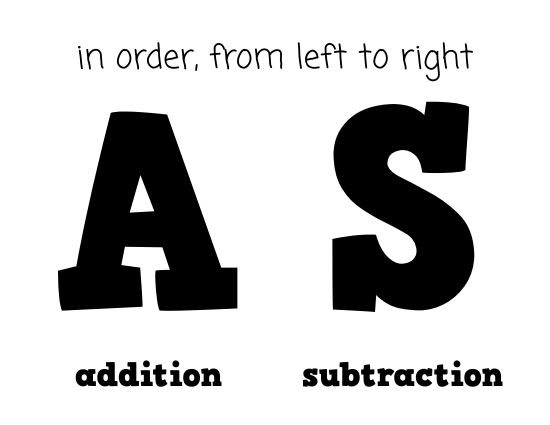
Next up in the back-to-school posterpalooza, it’s the order of operations.

I’ve heard different people have different opinions between GEMA and GEMDAS. I like the idea of arranging the letters like this as a compromise between the two. It emphasizes that multiplication/division and addition/subtraction occur in pairs, at the same time, but students will hopefully not forget about the division and subtraction.

Sarah designed the Grouping Symbols poster. I thought it’d be nice to have my order of operations posters match her style.

Downloads:


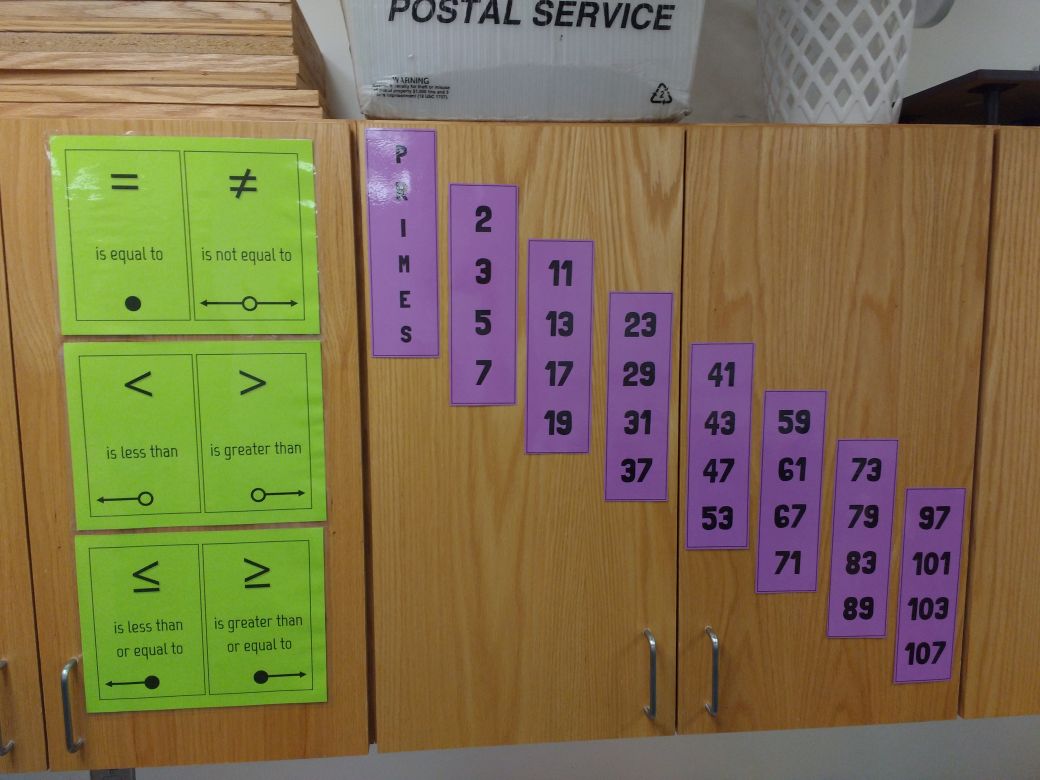
Inequality Symbols Posters

Okay, before I go any further, I feel I should clarify: I have not just been working on posters for the last week, despite them completely taking over my blog. I have been working on lesson ideas, too. I just want actually try them out in class, so I can reflect on how they went, before they make it to the blog.

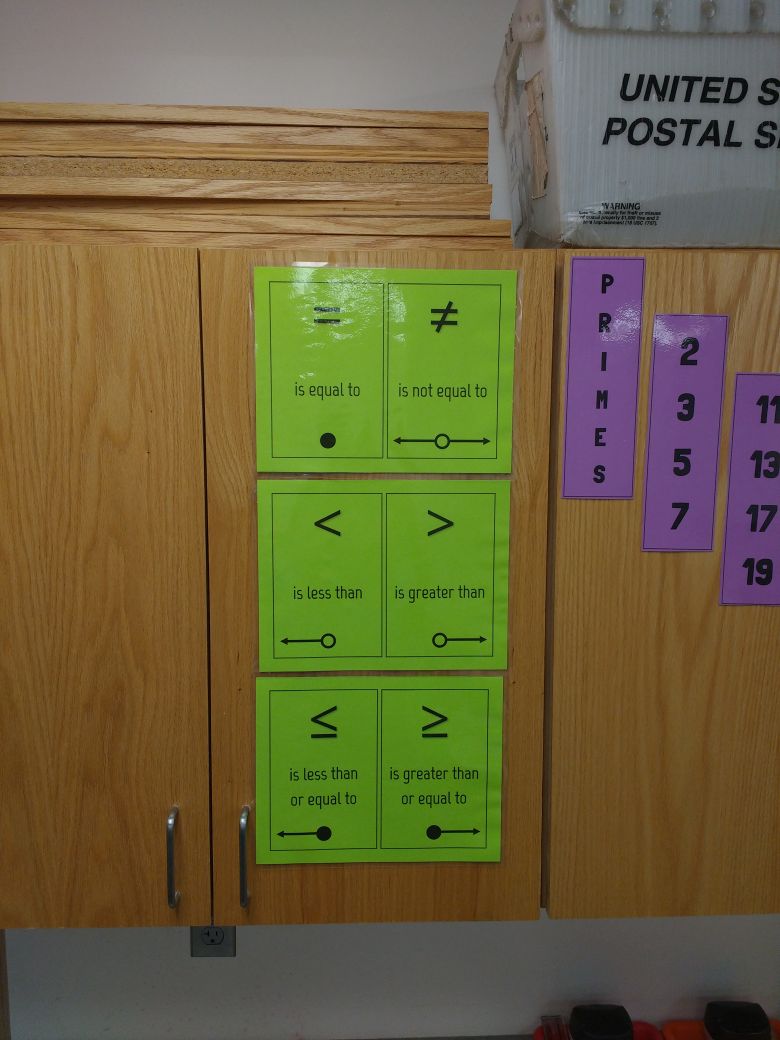
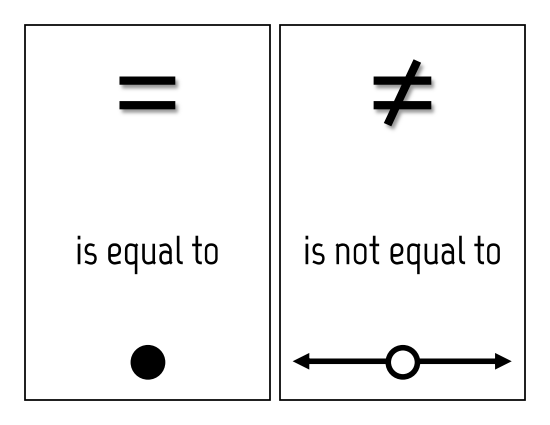
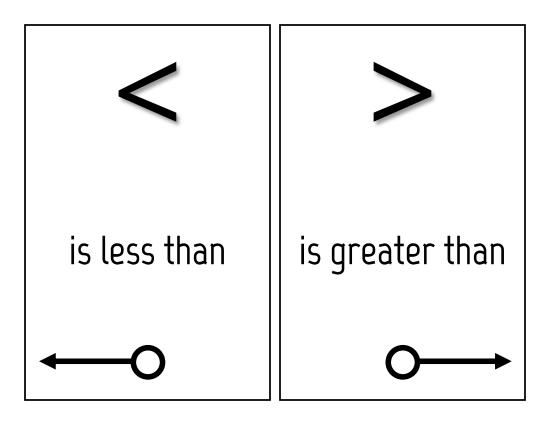
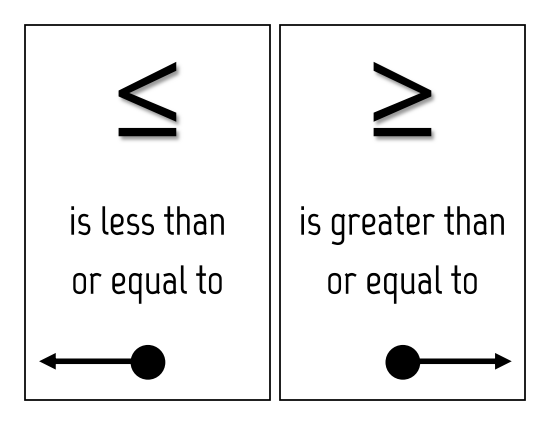
Anyway, for today, another poster set: Inequality Symbols!

I guess equals is there too. But I thought “Inequality Symbols (and equals is there too)” wasn’t a very succinct title, so there you go.

I was very tempted to redo these bigger, with a single symbol to a page. If you think that would look better, you have my blessing to change it. 🙂

The prime numbers next to it are courtesy of my wife. In this case, I didn’t even need to print and laminate them myself. Sarah came into my room with an extra set she made for a reason she can’t remember. They’re designed to be one long column, but I thought I’d better at least contribute a little creativity to them in my room.

As always, downloads are PDF and the original editable format. Font is Marvel.


Converting Units Posters

I’m a Geometry teacher who doesn’t know how to measure anything.

Okay, I can measure stuff. But, like most of the world except the nation I now live in, I learned* to measure everything in metric. Mostly. I grew up on a farm, so I’m very used to measuring area in acres and rainfall in points and inches. But aside from that, I just know metric.

So this poster set is for me, more than the kids, if I’m perfectly honest. Or it is for them, when Mr. Carter is silly enough to give them all their measurements in millimeters.

Downloads:

Fonts are ChunkFive and Patrick Hand.

* I also had to fix this word after typing “learnt” just now. It’s going to take a while to break some of these habits.