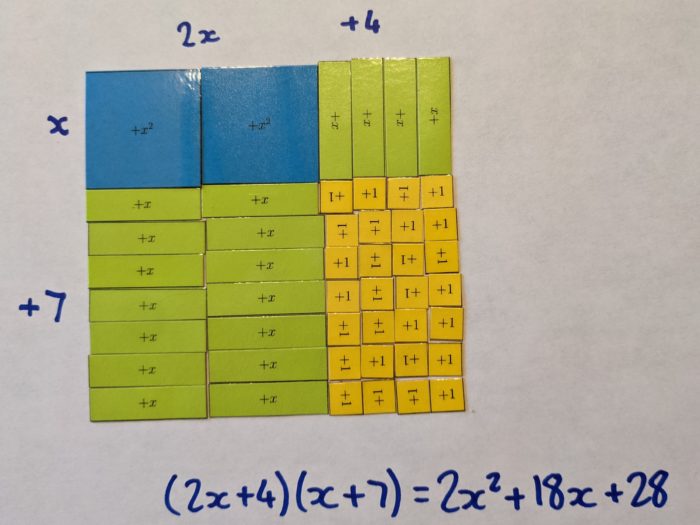
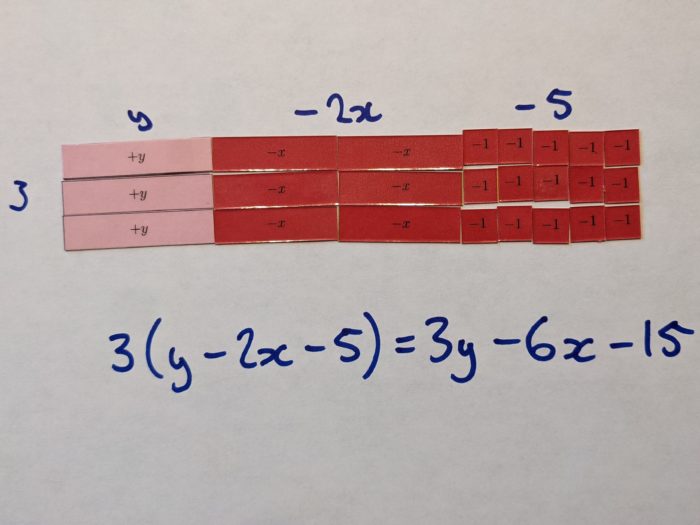
I’ve been lacking in the algebra tile department lately. They aren’t the cheapest things to buy, so I decided to make my own.
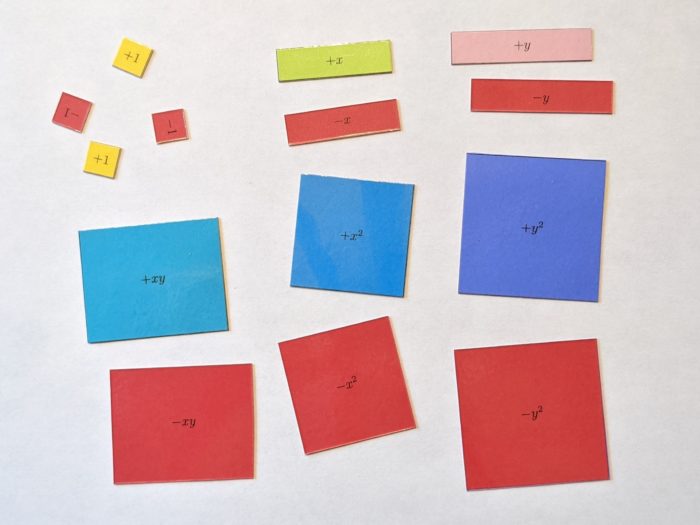
They actually turned out a lot better than I expected. As you can see, they’re double sided for negatives, and include the variables x and y. I’m not sure how long they’ll survive once they get into the hands of students; they’re laminated, but the two layers of paper are only held together by glue stick. For now, though, they seem pretty sturdy.
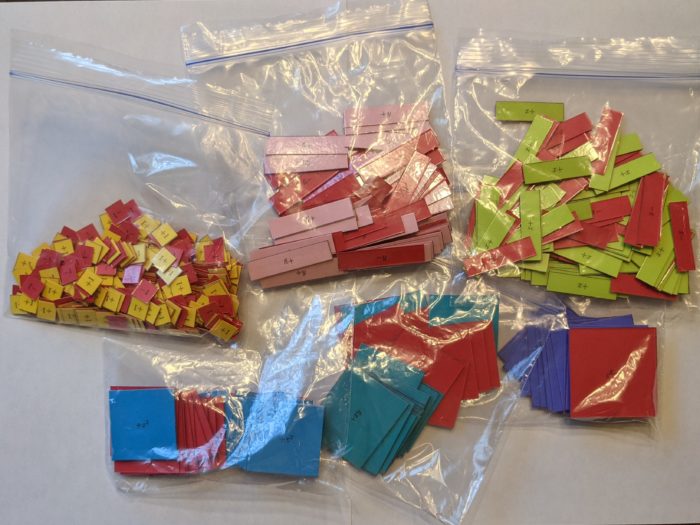
While there are probably other algebra tile templates online, I made my own, which you can download here:
Here’s how to put them together:
- You will need:
- Printer.
- Various colors of paper.
- Red cardstock. Or just paper. I used cardstock because that’s what I had, but I think it helped make the tiles a lot sturdier.
- Glue. I used a glue stick, but there may be better options. I want to try a spray adhesive next time.
- Laminator and laminating sheets.
- Scissors and/or other paper cutting device.
- Print the positive sides (odd numbered pages) on the colored paper. Make sure every page is printing using the same scale. (I just printed at “actual size” to make it easier.)
- Print the negative sides (even numbered pages) on the red cardstock.
- Cut around the dotted border on the -1 page. (Page 2).
- On the +1 page (page 1), use a pencil to mark where the outside corners are on the back of the paper. Hold the paper up to a light if it helps.
- This is the tricky bit: Glue the -1 page to the +1 page, back to back. Be very careful to glue the entire surface, or any gaps will become tiles that have nothing holding them together. Use the pencil marks to line the pages up.
- Repeat for all the other pages.
- Laminate each set of tiles.
- Carefully cut the tiles apart.
Was this the best use of my time a week before school goes back? Almost certainly not. But doing something crafty to prepare for school has helped get me more enthused about the upcoming year, and more motivated to get the important things done. Maybe a small project like this is what you need, too.
Actually, the main impetus for making these tiles is the presentation I’m giving at the #NEOKMath Teacher Conference in a couple of days (Thursday, August 5). I’m talking about methods to familiarize students with the distributive property, which includes using algebra tiles. If you’re reading this the day I post it, and you live in north east Oklahoma or nearby, it’s not to late to sign up to attend. And it’s free. I won’t even be offended if you skip my session to hear someone else.
Here’s a couple of examples I made for my presentation, using these tiles:
