First day back from Christmas break saw my Geometry classes looking at theorems about parallelograms and rhombuses. We’d already looked at definitions of the different types of special quadrilaterals. I had students divide a page in their notebook in two, and told them to rewrite the definitions of the parallelogram and rhombus in those sections.
While they were doing that, I passed out a set of four Exploragons to each student, with two each of two different colors/lengths. I also made sure that each pair of students received the same colors, which will be important later.
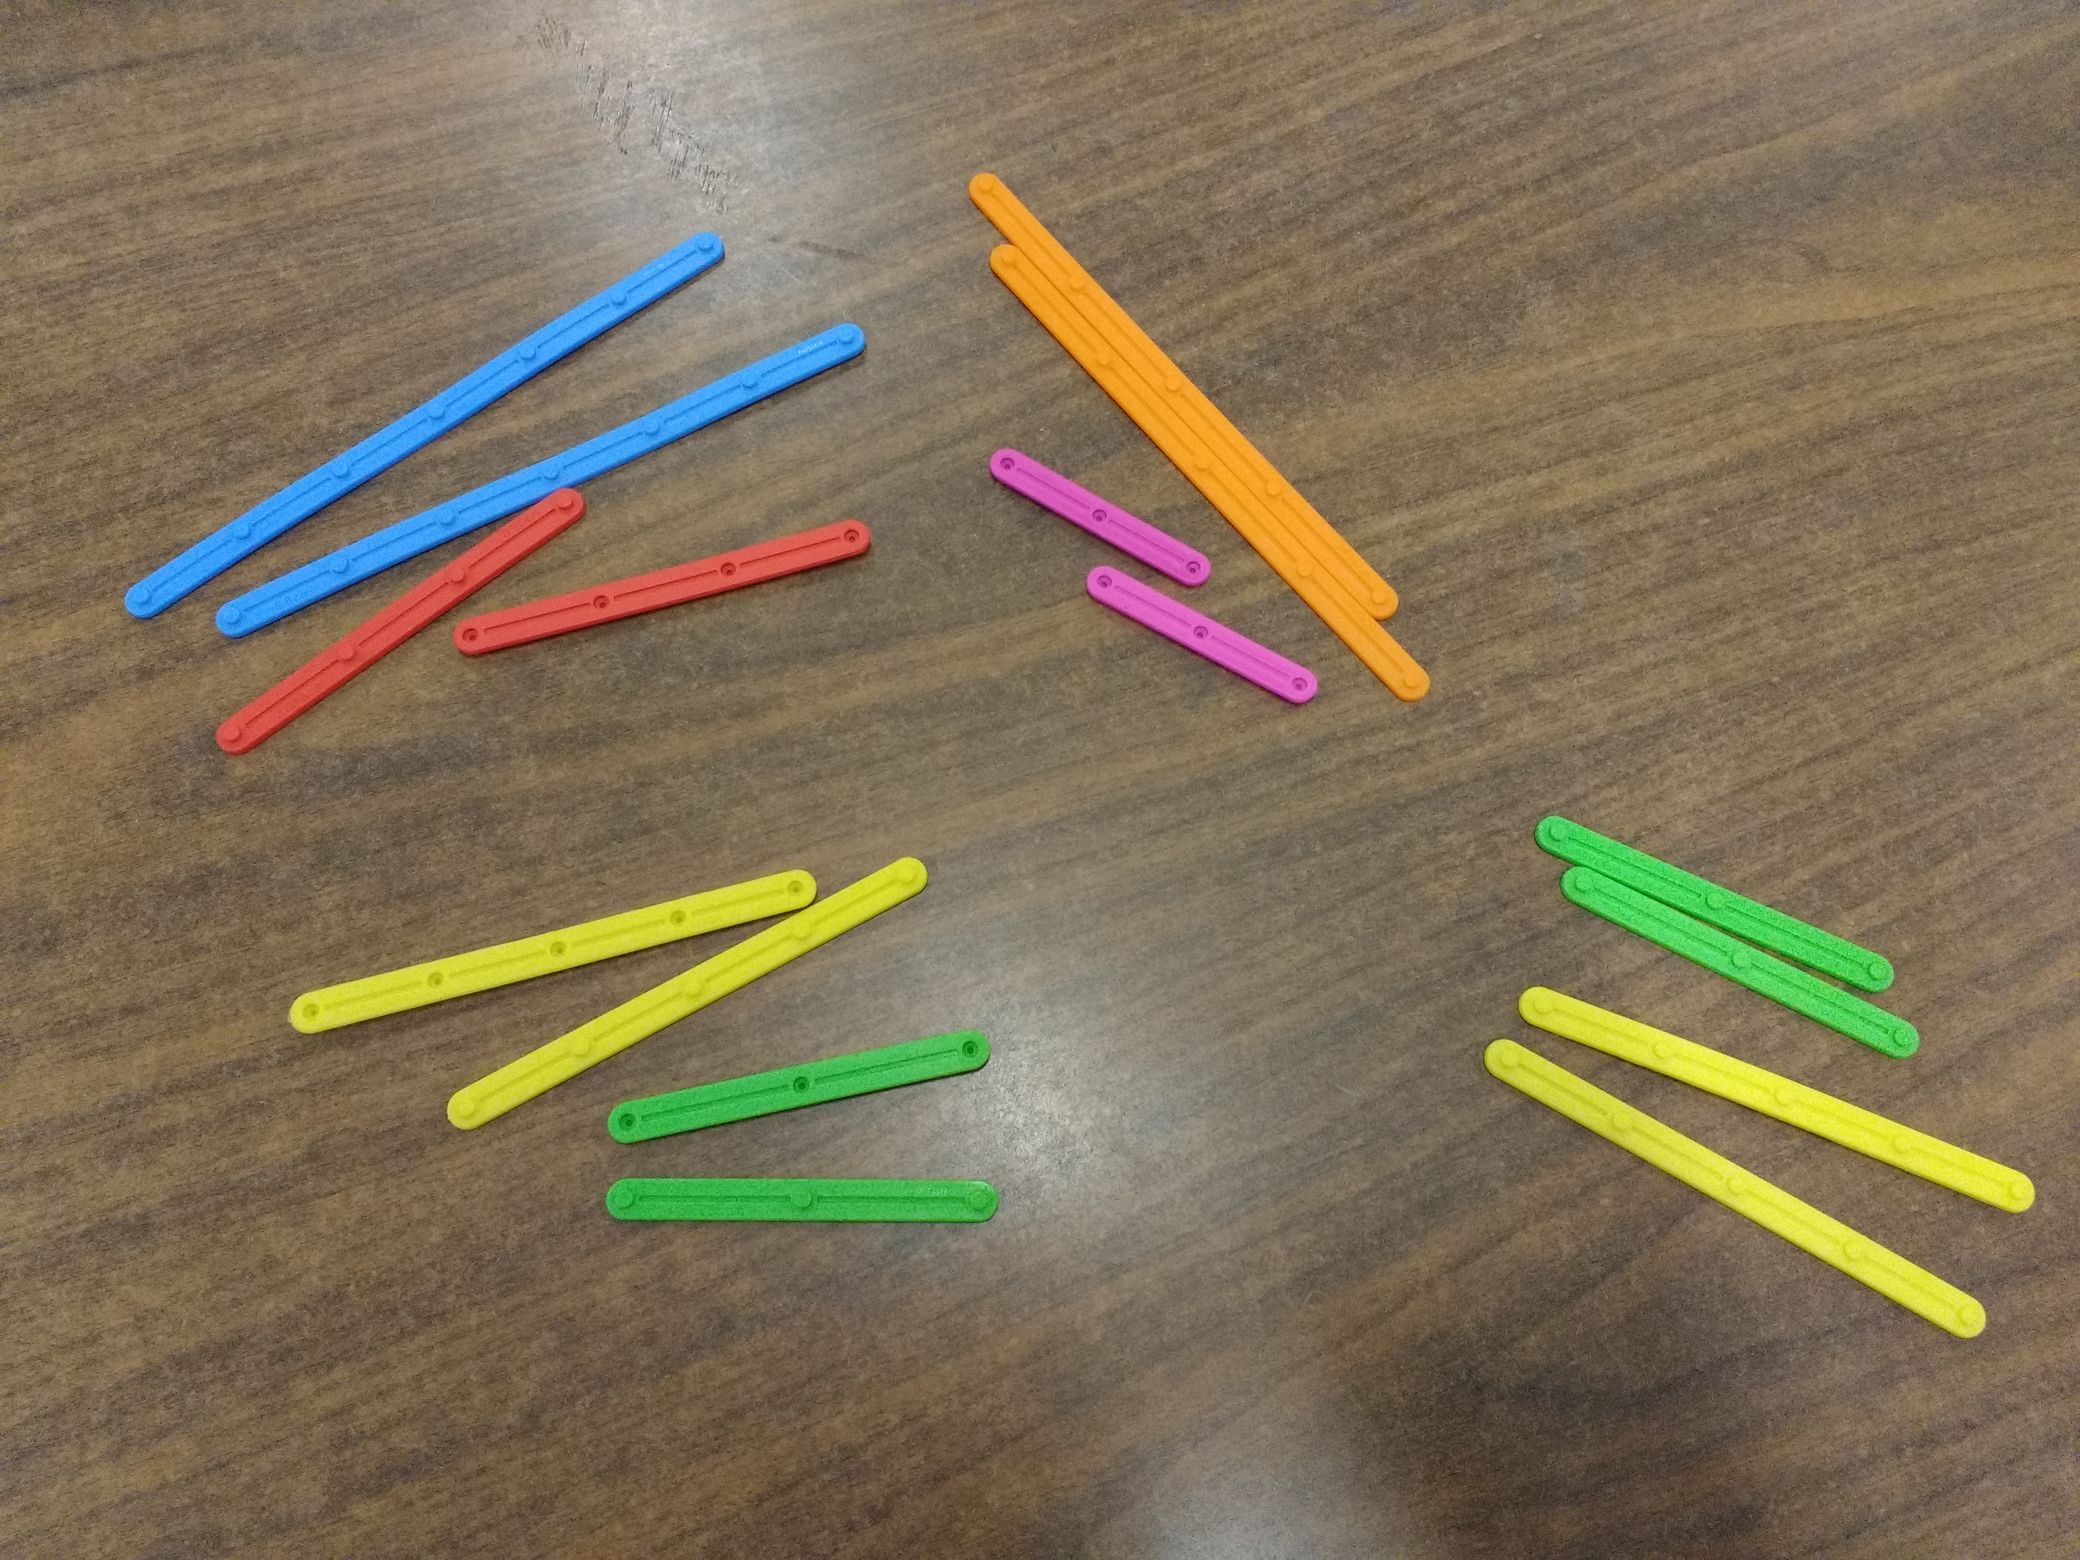
If you haven’t used Exploragons before, they’re plastic sticks with little nubs that allow the sticks to snap together to make different geometric arrangements. Other companies sell them as AngLegs, though I think prefer Exploragons as they have nubs in the middle of the sticks, not just at the ends. When I started teaching at Drumright, I had the opportunity to order hands-on supplies to use. I’ve found that of everything I’ve ordered, these are the most versatile physical tool I have for teaching Geometry.
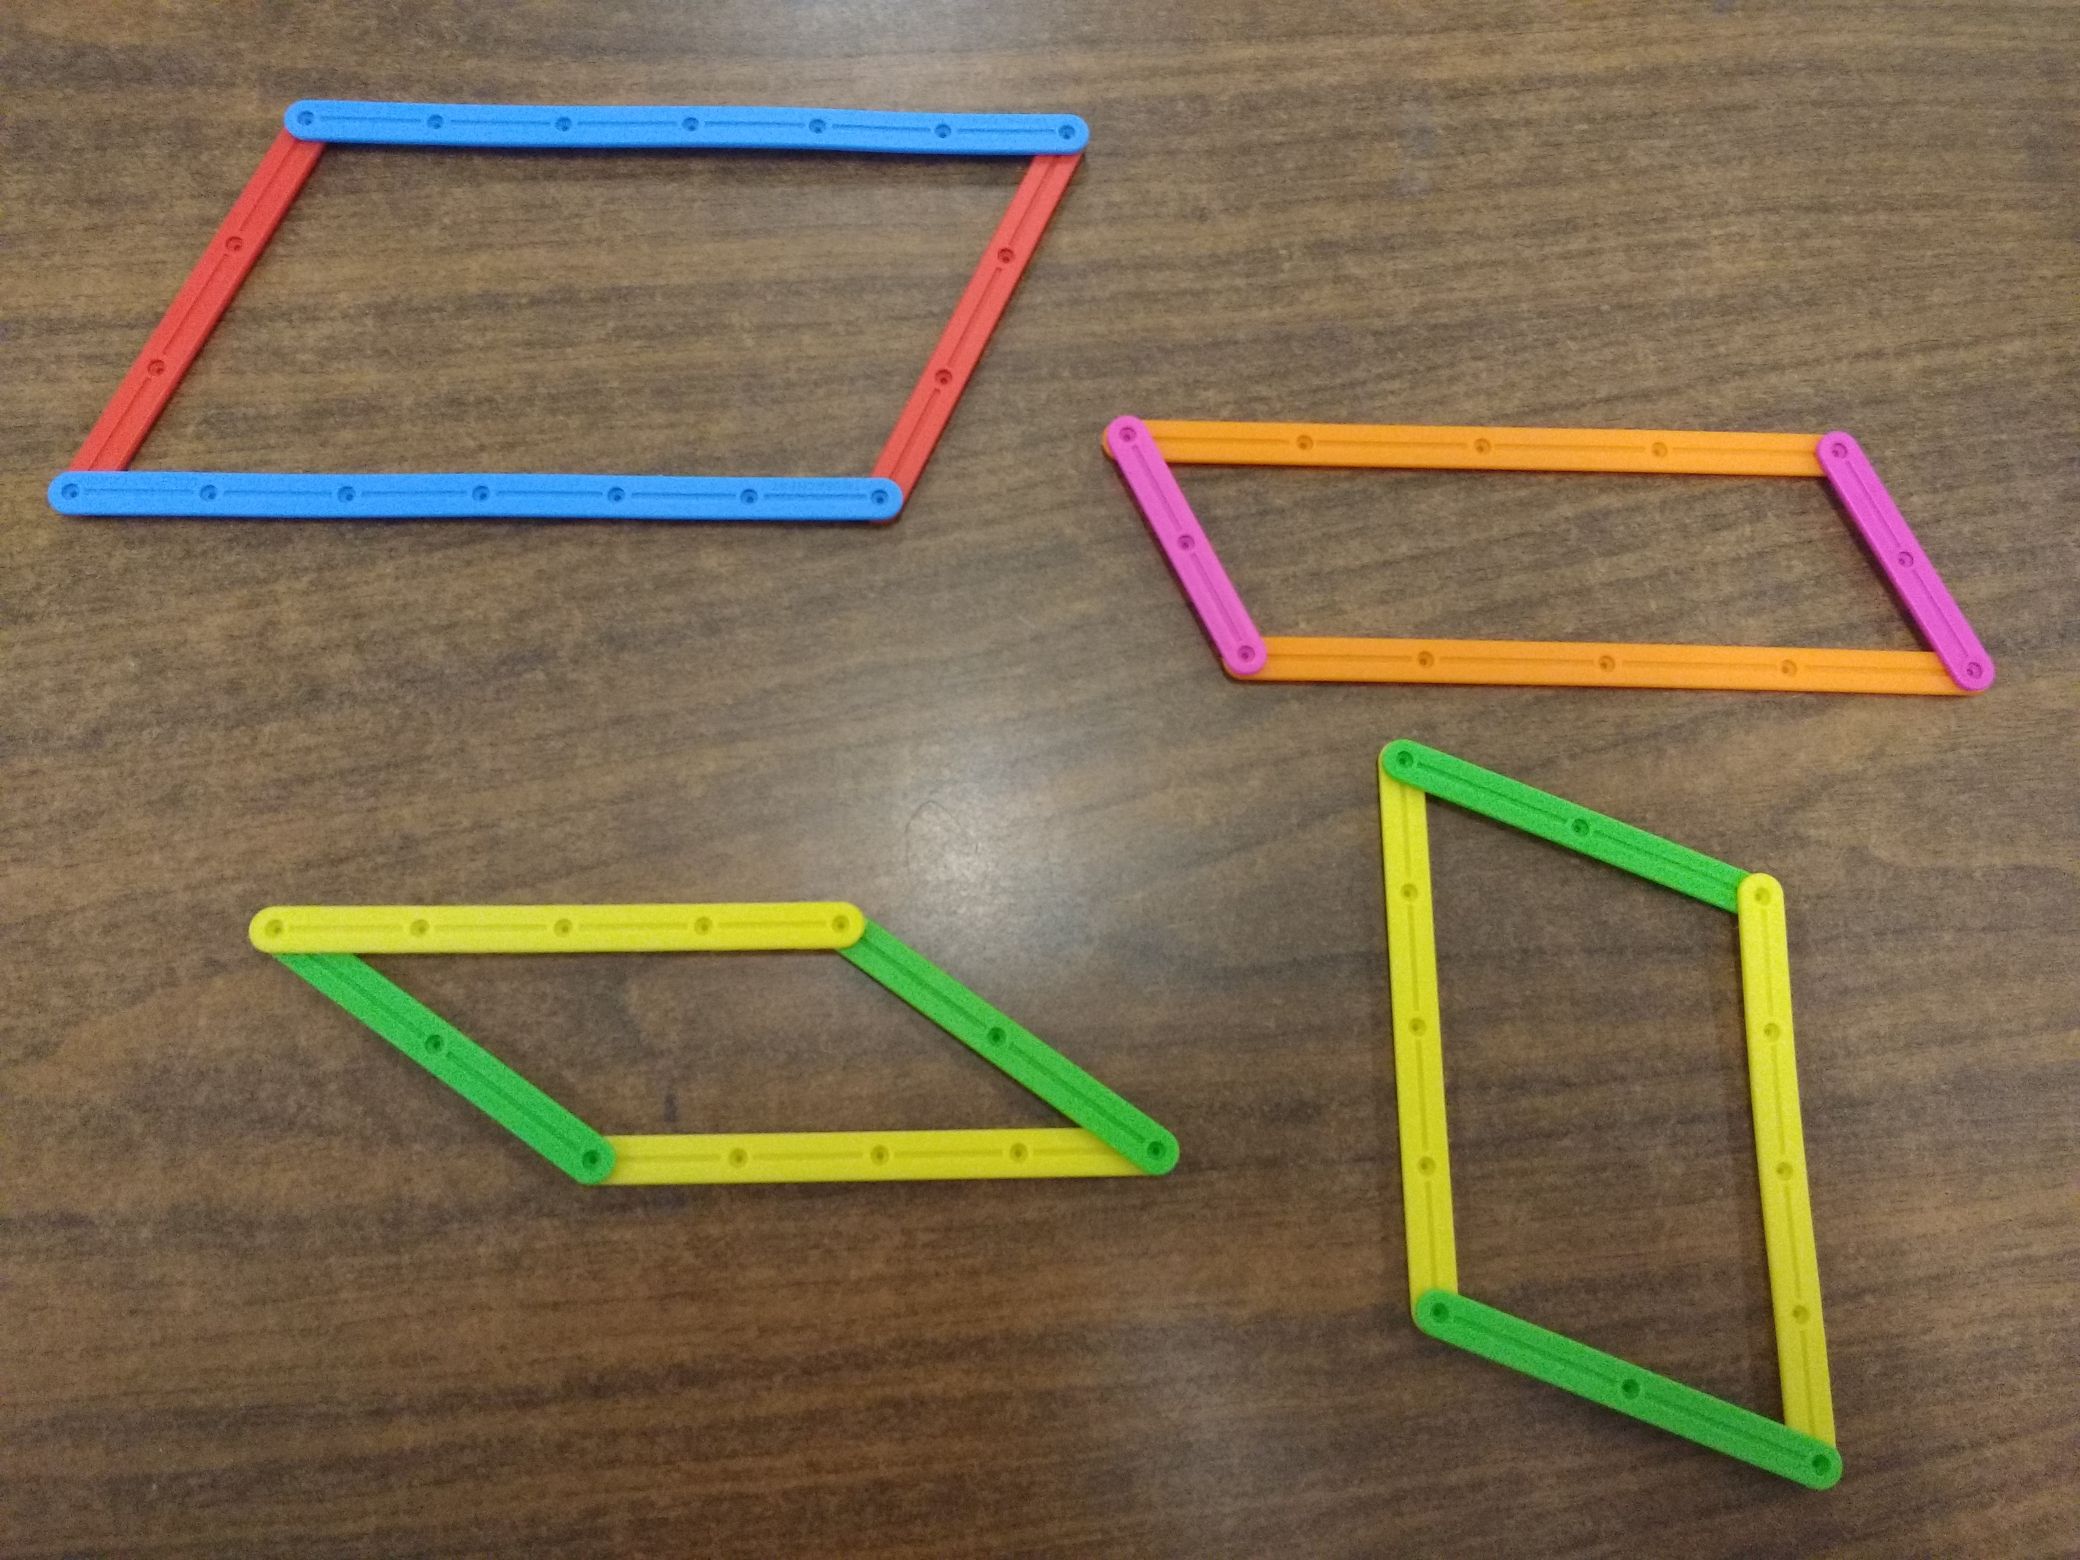
I gave students the instruction to construct a parallelogram from the pieces I gave them. Thankfully, they (mostly) ended up with something like these:
I then instructed them to write down everything they noticed about their shapes, and to discuss what they notice with the students around them. Answers ranged from what I was hoping they’d notice (opposite angles are the same, opposite sides are the same length) to not as useful (“it’s a shape”), but getting the perfect answer wasn’t really the point. I wanted students to understand that there are things about these quadrilaterals we can know are true aside from just their definitions.
Next, I told students to do the same thing by making a rhombus. Thankfully, they realized I didn’t have the right pieces to do this A few looked at me incredulously, a few demanded I give them more pieces (which I refused), but slowly a few students worked out what they needed to do: trade pieces with the person next to them.
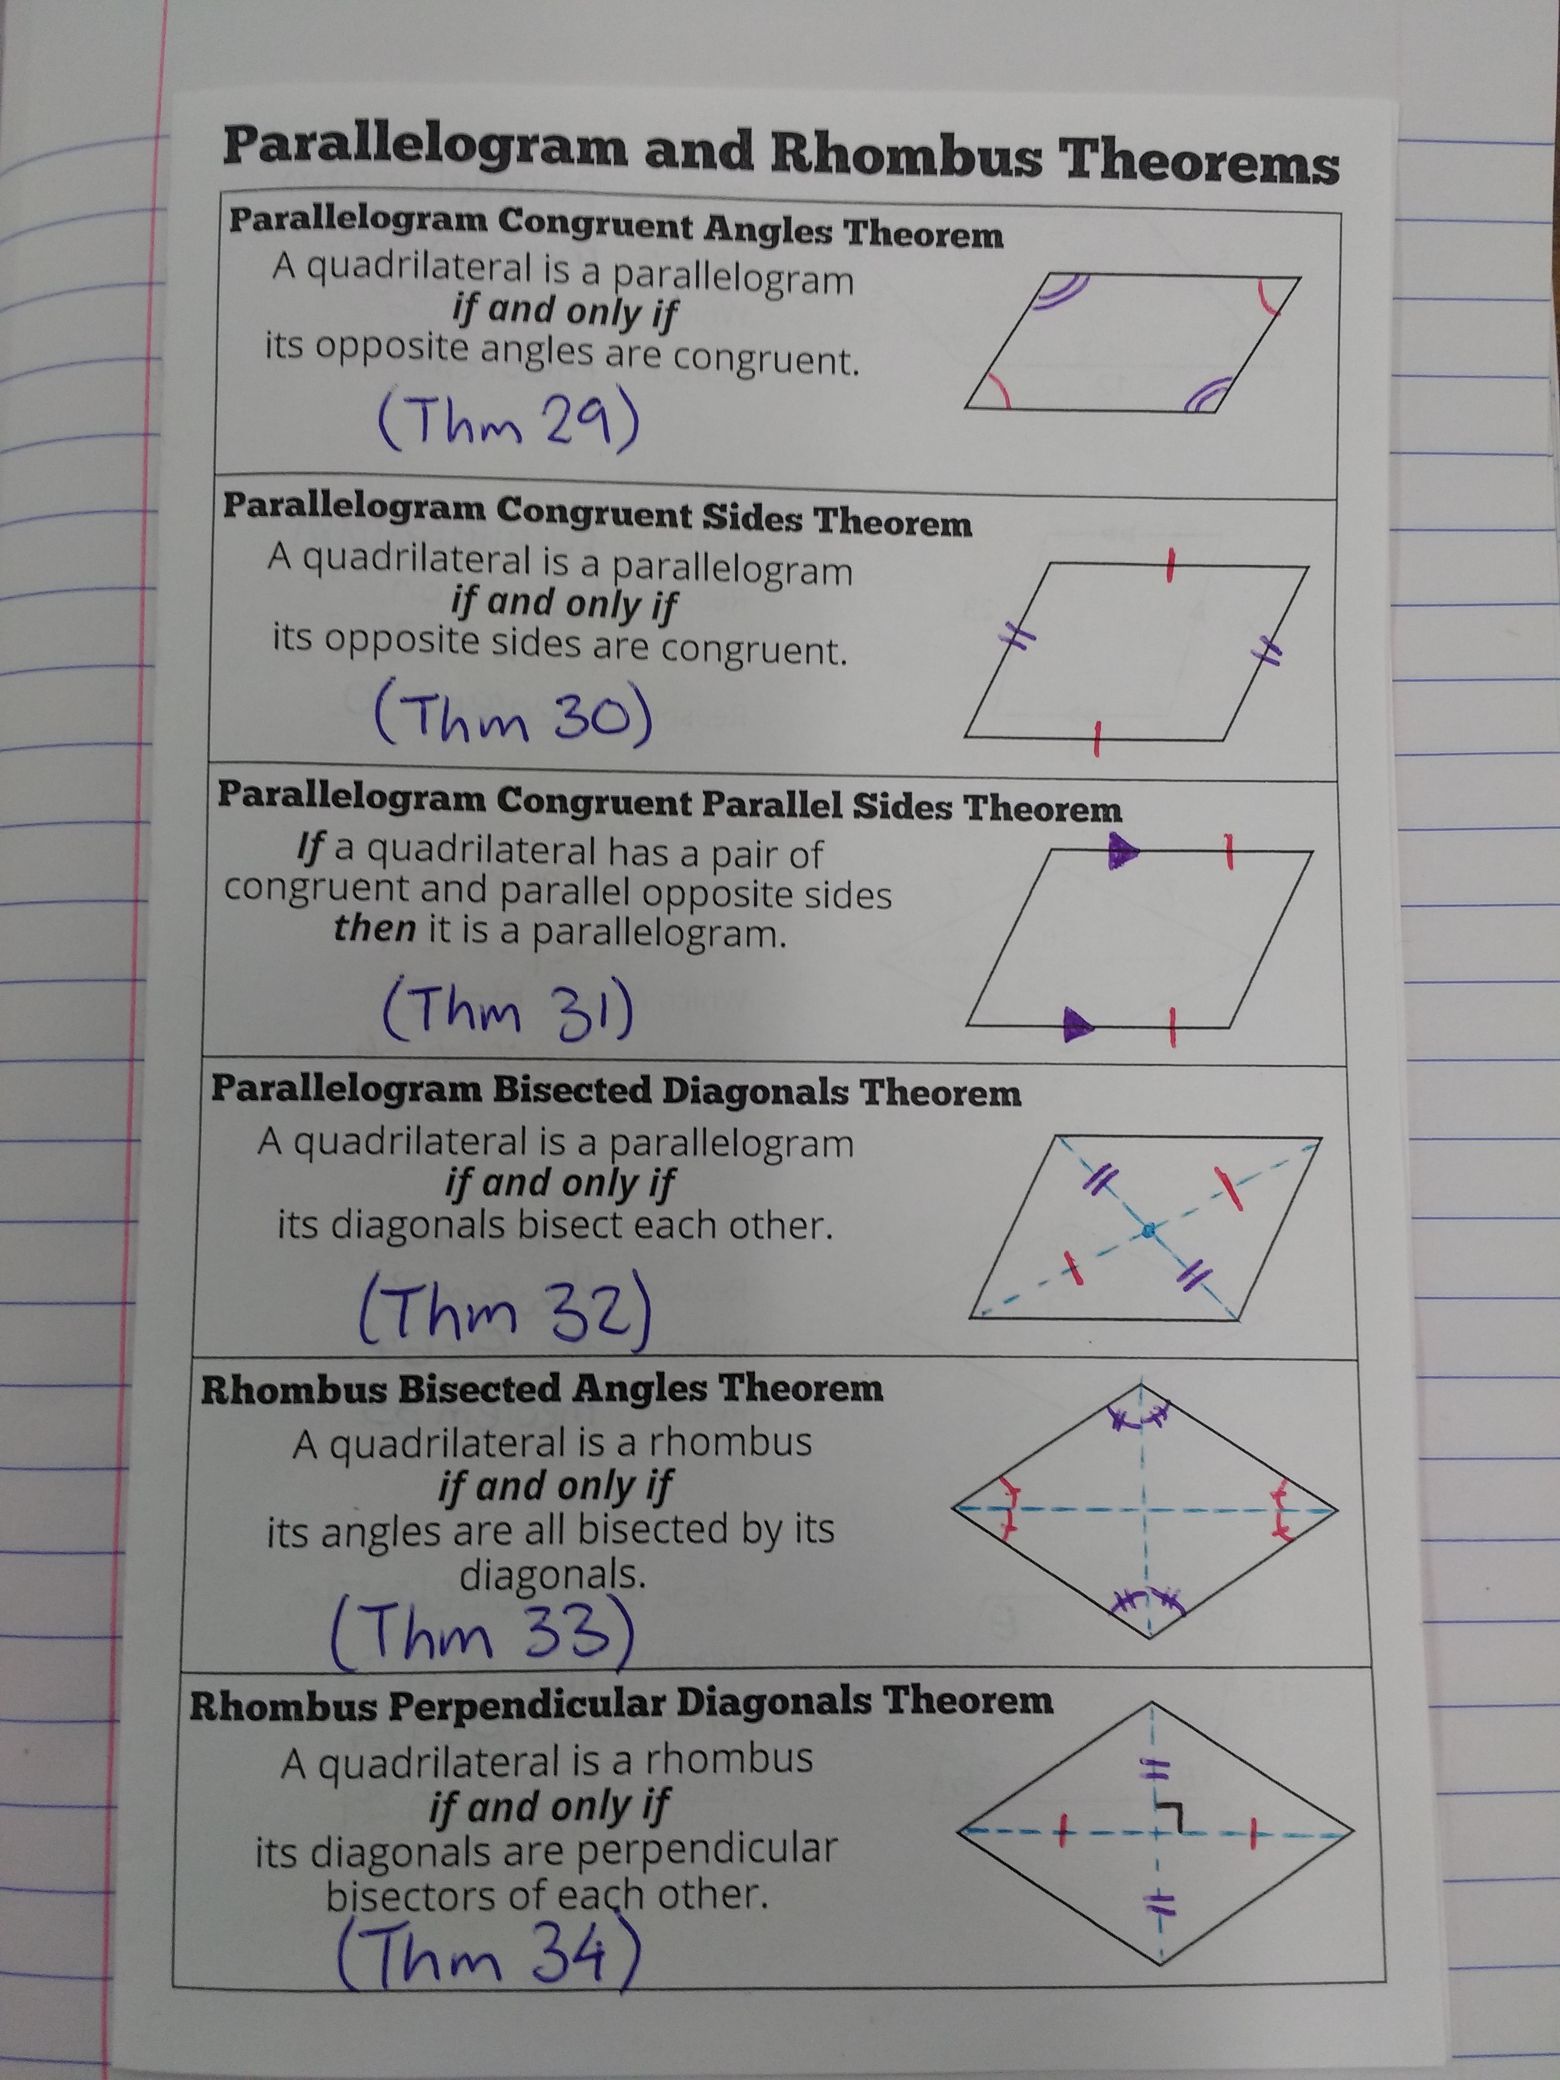
Once students had had time to write down their observations of their rhombus, we started our notes summarizing the theorems for these quadrilaterals. I used the observations as a springboard into this conversation, pointing out that some of the theorems matched what they’d noticed, and some didn’t (particularly the ones involving diagonals.)
After, students started the activity I put inside the notes. For each diagram they needed to identify four things:
- What the shape is (admittedly not too difficult, as there’s only two to choose from.)
- How they know it’s that shape, based on either one of the theorems or the definition of the shape.
- The value of any variables in the diagram.
- How they know it’s that value, again by referencing a theorem or definition.
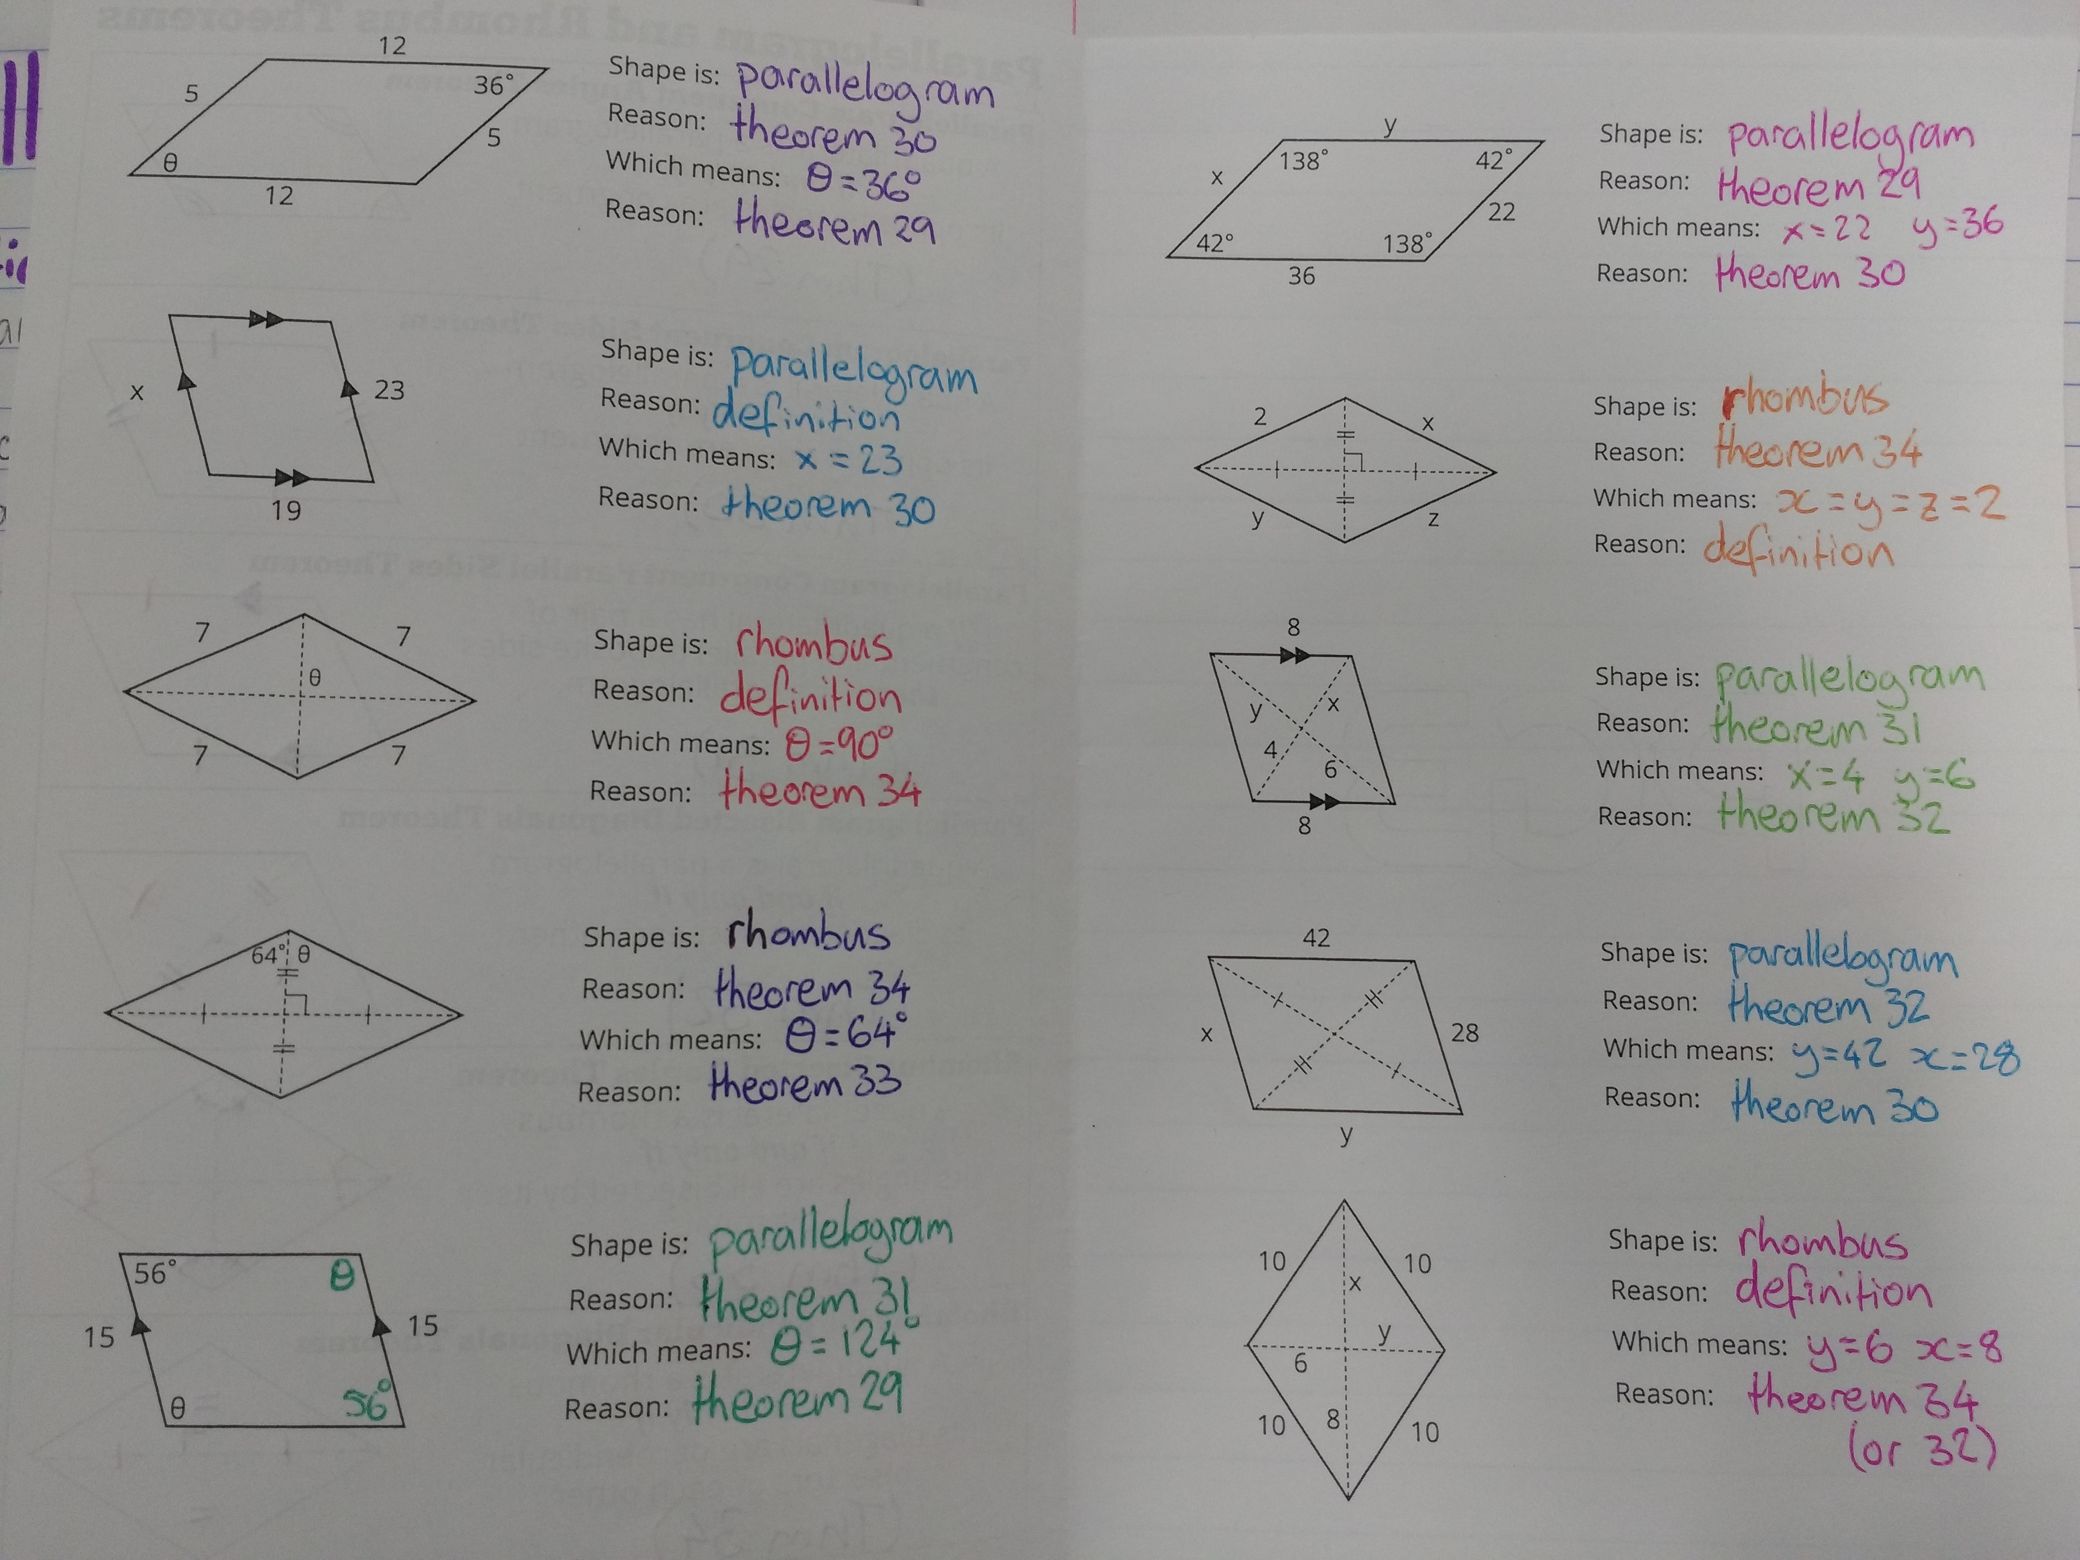
There is a flaw in these questions. All of the parallelograms have a horizontal pair of sides, while the rhombuses are in a “diamond” position. This made distinguishing the two a little too easy. If I get a chance, I’d like to rotate some of the diagrams to different angles.
Downloads for these notes can be found here.